Turn Old Dressers Into Statement Pieces
Five dresser makeovers that completely transform tired thrift-store finds into rooms' biggest statement pieces.
A dresser is one of the biggest pieces of furniture in any bedroom — which means a great dresser anchors the whole room, and a tired old dresser drags it down. The good news: dressers are also one of the easiest pieces to dramatically transform on a budget.
These five makeover styles range from beginner-easy to slightly advanced. Each is something I've personally done at least once. Each takes a weekend and costs under $100.
1. The matte black + brass upgrade
Paint the entire dresser in a matte black furniture paint (Behr Cabinet & Trim Enamel in Tricorn Black is perfect). Replace the existing hardware with simple brass pulls or knobs.
Instantly modern, instantly expensive-looking. Works in almost any bedroom style and hides minor wood imperfections beautifully.
2. The cream + cane front
Paint the body in a warm cream (Swiss Coffee from Benjamin Moore). For the drawer fronts, replace the wood panels with cane webbing (available from craft stores or Amazon).
Cane webbing is glued or stapled into a routed recess on each drawer front. Sounds technical — there are great YouTube tutorials. The look is straight out of Anthropologie.
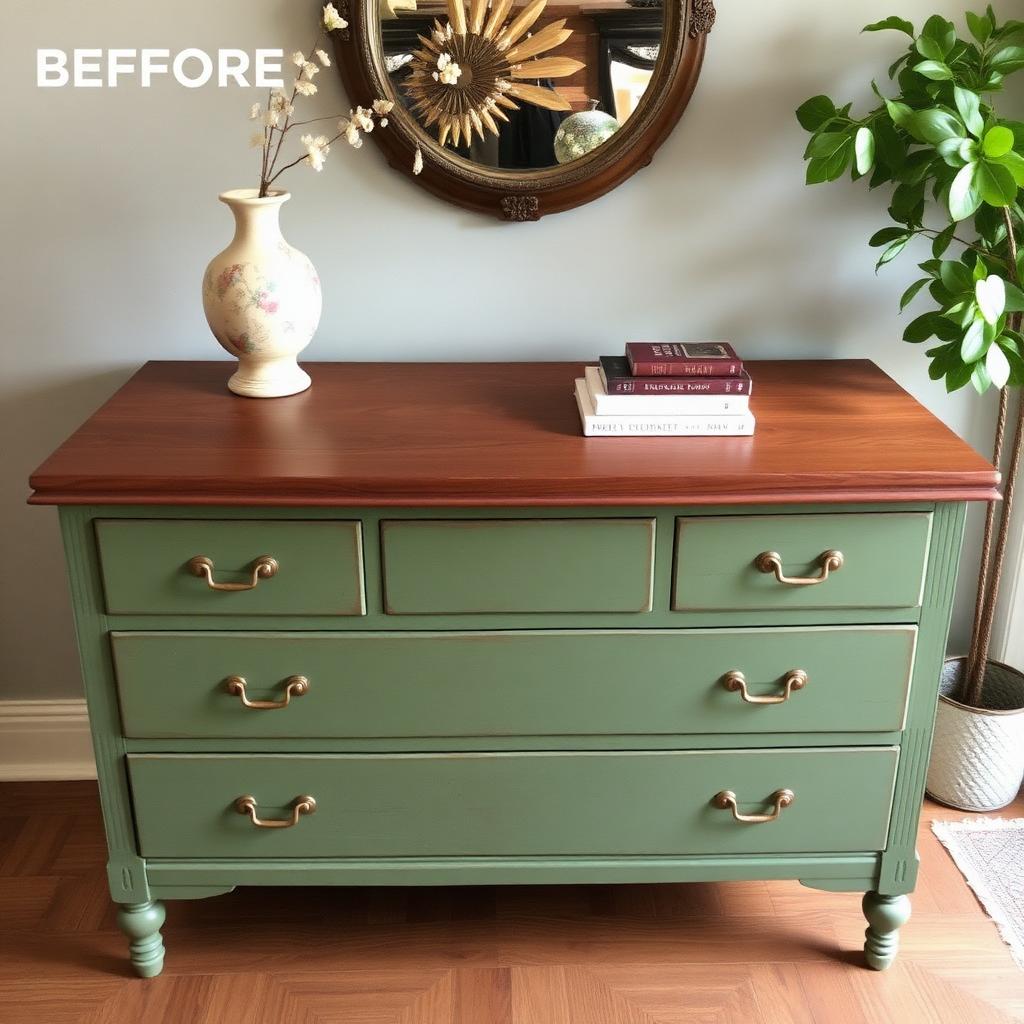
3. The two-tone dresser
Paint the body of the dresser one color and the drawer fronts another. Try cream body + terracotta drawer fronts, or sage body + cream drawers.
Adds a custom, designed feel that costs the same as a one-color refinish. Tape carefully between sections for clean lines.
4. The wood stain reveal
Strip the existing finish completely (this is the most effort), sand to bare wood, and apply a new wood stain in a warm walnut or whitewashed tone.
Works best on solid wood pieces (not veneer). The result is a piece that looks brand-new but keeps the original wood character.
5. The colorful inside-the-drawer surprise
A simple but joyful touch: paint the inside of each drawer a bright, unexpected color. Outside in calming cream, inside in coral pink or grassy green.
Every time you open a drawer, you smile. And lining the drawer interiors first protects them from paint chips.
Pro tips for any dresser makeover
Always remove the drawers and hardware completely before painting. Painting around hardware always looks amateurish.
Number the drawers on the back with painter's tape so they go back in the right order. Even matching drawers from the same dresser often only fit one specific slot.
How long the project really takes
A typical dresser makeover is one full Saturday of active work, then two weeks of drying time between coats and before heavy use. Plan accordingly — don't start three days before you need the dresser in use.
Paint needs to cure, not just dry. Cured paint is what survives daily use without scratching.
A great dresser makeover can transform a bedroom for under $80. The hardest part is committing to the piece — once you start, the process is satisfying and the result is genuinely transformative. Pick a style, find a thrift dresser, and block off a weekend.
"Matte black + brass is the most foolproof upgrade."
— Emma, CozNest
These ideas are a starting point — the real magic is making them your own. Pick one, try it this weekend, and tag @coznest so we can see what you create.

Written by
Emma Hartley
Emma is the editor of CozNest. She lives in a 720-square-foot apartment that she's decorated, redecorated, and re-redecorated more times than she'll admit — and writes about every lesson learned along the way.
More about EmmaDisclosure: Some links in this post may be affiliate links. CozNest may earn a commission if you make a purchase, at no extra cost to you. We only recommend products we genuinely love.
Keep reading
You might also like
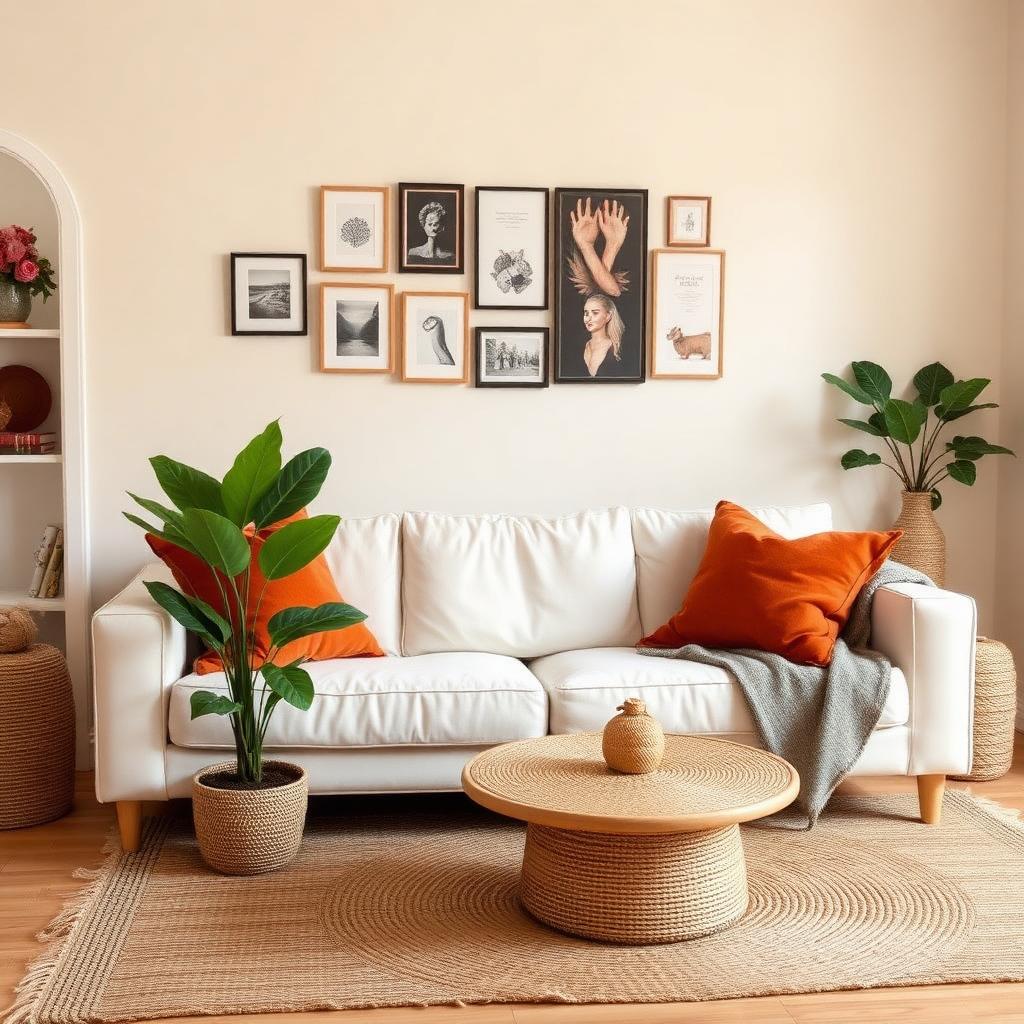
Living Room
10 Living Room Decor Ideas Under $100
8 min read
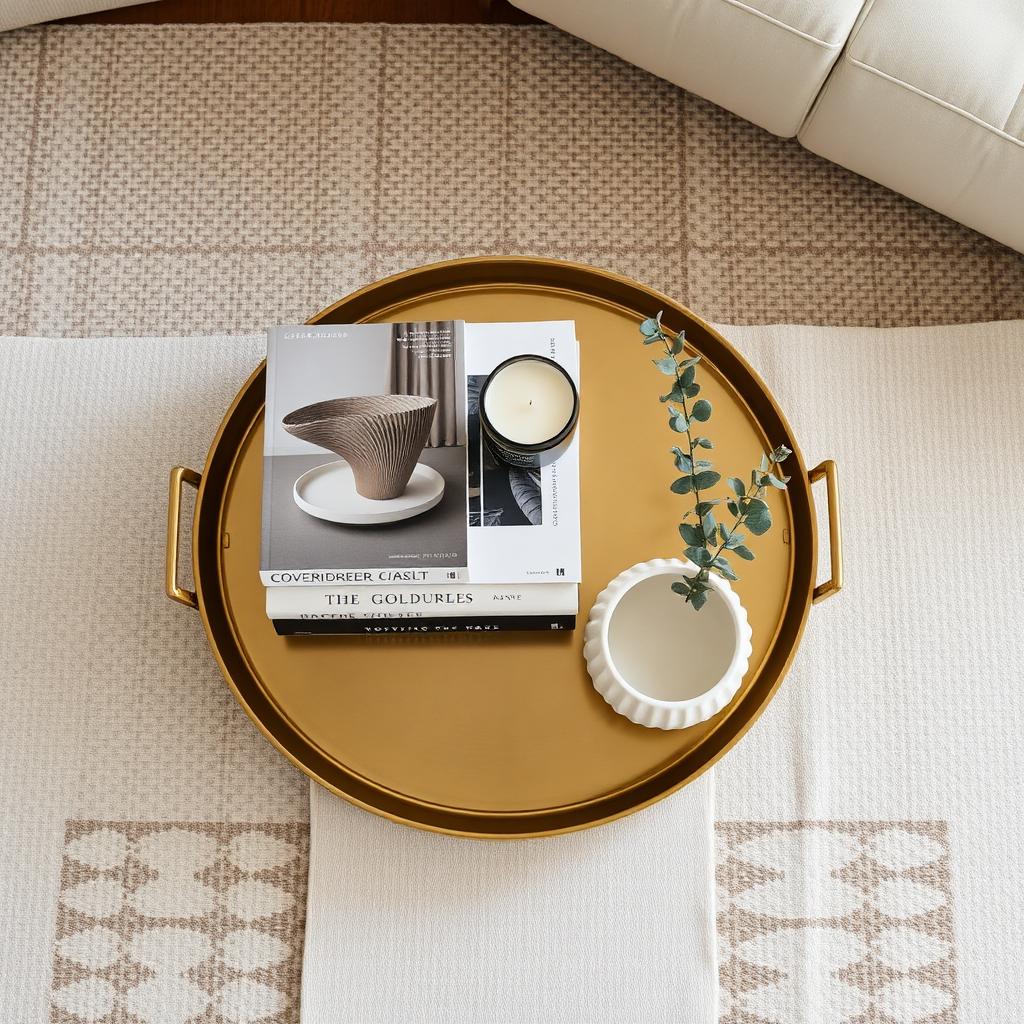
Living Room
How to Style a Coffee Table Like a Designer
7 min read
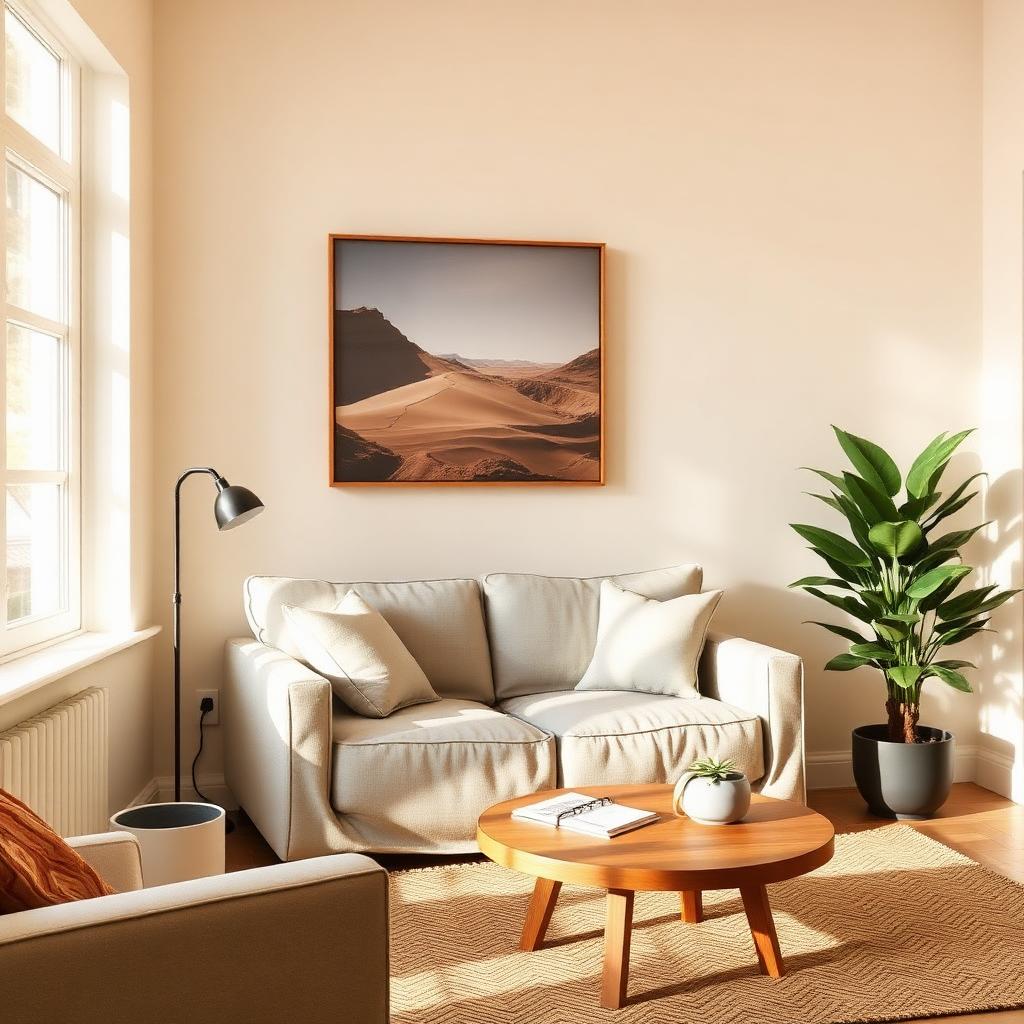
Living Room
Small Living Room Layout Tricks That Actually Work
7 min read