How to Build a Gallery Wall That Looks Designer
The exact step-by-step process designers use to build gallery walls that look collected, intentional, and never crooked.
A great gallery wall feels collected over years, even when it was built in a weekend. A bad one looks like a random pile of frames stuck to a wall. The difference is process, not talent. After building probably 30 gallery walls in my own apartments and friends' homes, here's the exact process designers use.
This isn't fancy — it's just methodical. Follow these steps and your gallery wall will look professional on the first try.
Step 1: Gather more than you need
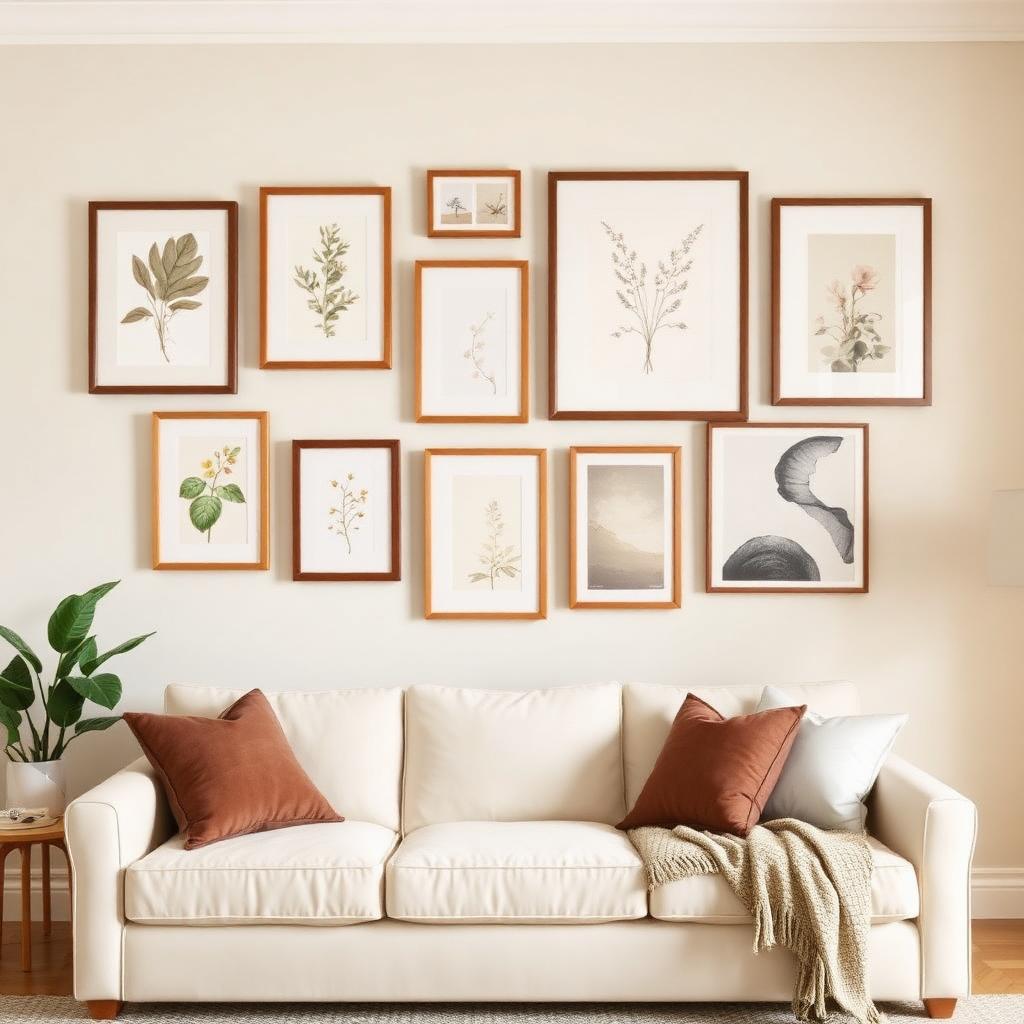
Collect at least 50% more pieces than you think you need. Mix frame sizes, frame finishes, and content (photos, prints, small objects). The variety is what makes the wall feel collected.
Don't worry about coherence yet — you'll edit later. The goal of this step is options.
Step 2: Decide your anchor and direction
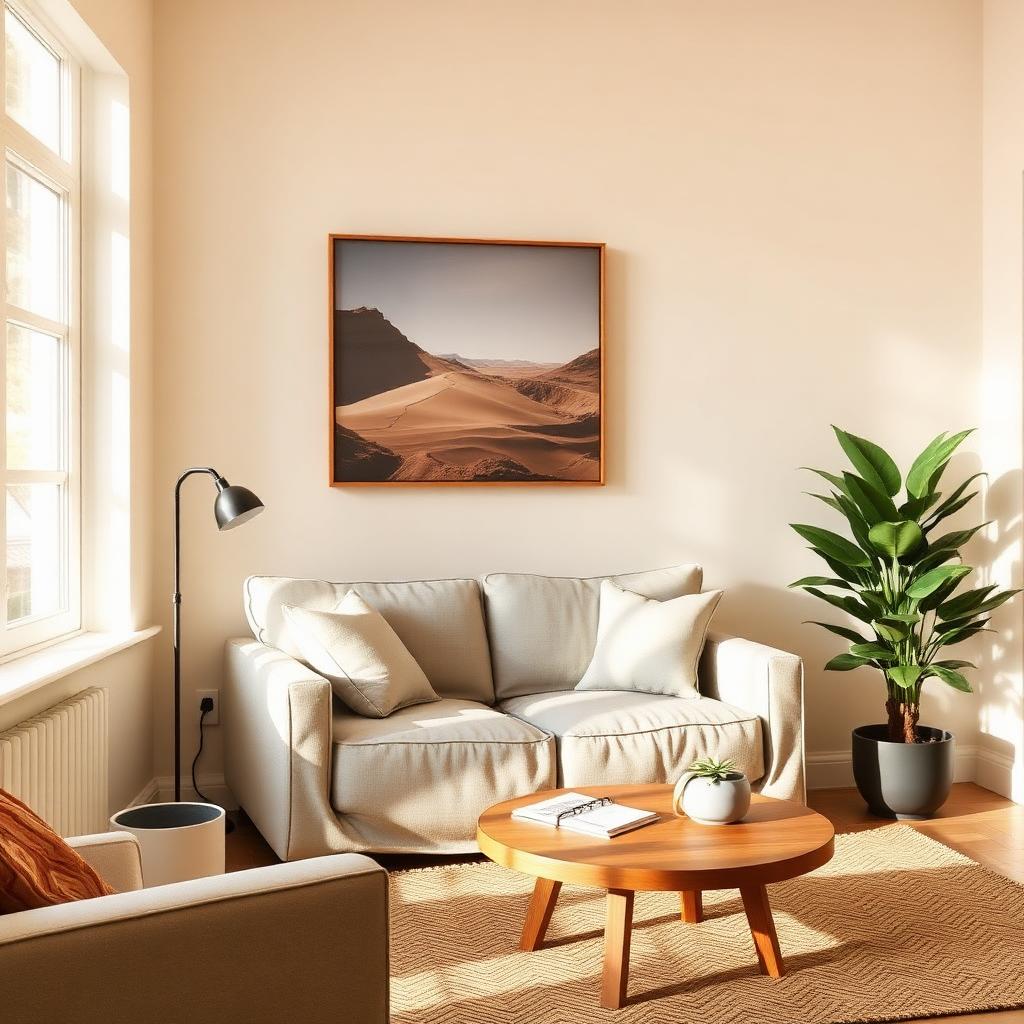
Every great gallery wall has an anchor piece — usually the largest one, placed slightly off-center. This anchor sets the gravity of the whole composition.
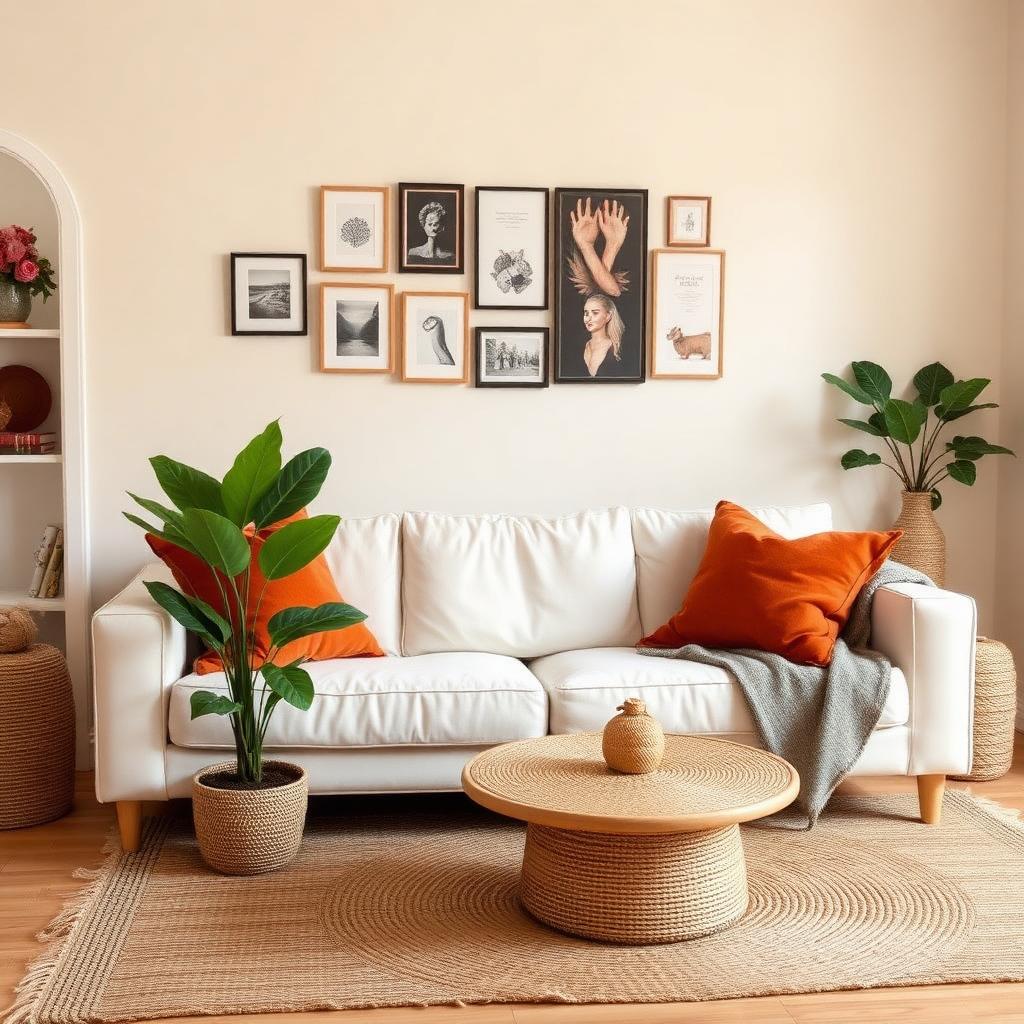
Decide whether your wall will be a tight grid (more formal, modern) or an organic salon style (more casual, eclectic). Both work; just commit to one.
Step 3: Lay it out on the floor first
This is the step most people skip — and it's why most gallery walls look wrong. Spread a bedsheet on the floor in the same dimensions as your wall. Arrange the frames there until you love it.
Spend at least 30 minutes rearranging. Step back, photograph it on your phone, look at it on the screen (which gives you instant perspective). Move pieces around until your gut says yes.
Step 4: Use paper templates
Trace each frame onto kraft paper or newsprint. Cut them out. Mark where the nail will go on each template (measure from the top of the frame to the hanging wire when taut).
Tape the templates to the wall in your final arrangement. Adjust as needed. This step lets you preview the entire wall without making a single hole.
Step 5: Hang from the anchor outward
Once you love the template layout, hammer nails through the marked spots on the templates. Tear the templates away as you go. Start with the anchor piece and work outward.
Use a small level on each frame. Tilted frames are the most amateur look in any gallery wall.
Spacing matters more than perfection
Aim for 2-3 inches between frames for a salon-style wall, or a perfectly uniform 2 inches for a grid. Consistent spacing reads as designed; inconsistent spacing reads as accidental.
Use a piece of cardboard cut to your chosen spacing as a quick spacer between frames.
Mixing frame finishes
Designers mix three frame finishes max: black, natural wood, and brass is a classic combination. White, gold, and black is another. Stick to three. More than that looks chaotic.
Buy any new frames you need from one source so the finishes match. Mismatched 'black' frames from different stores rarely actually match.
A great gallery wall is the most rewarding decor project there is — it transforms an entire wall and adds soul to a room in a way nothing else can. Block off a full Saturday for this one. Bring patience. Trust the process. You'll never want plain walls again.
"Always lay it out on the floor first — never freestyle on the wall."
— Emma, CozNest
These ideas are a starting point — the real magic is making them your own. Pick one, try it this weekend, and tag @coznest so we can see what you create.

Written by
Emma Hartley
Emma is the editor of CozNest. She lives in a 720-square-foot apartment that she's decorated, redecorated, and re-redecorated more times than she'll admit — and writes about every lesson learned along the way.
More about EmmaDisclosure: Some links in this post may be affiliate links. CozNest may earn a commission if you make a purchase, at no extra cost to you. We only recommend products we genuinely love.
Keep reading
You might also like
Living Room
10 Living Room Decor Ideas Under $100
8 min read
Living Room
How to Style a Coffee Table Like a Designer
7 min read
Living Room
Small Living Room Layout Tricks That Actually Work
7 min read