Easy DIY Entryway Bench Anyone Can Build
Build a beautiful, functional entryway bench in one Saturday — beginner-friendly with a complete cut list and step-by-step photos.
An entryway bench solves three problems at once: a place to sit while you put on shoes, hidden storage for boots and bags, and a built-in style statement the moment guests walk in. Buying one costs $200-400. Building one costs $60.
This bench is the first real woodworking project I'd recommend to a beginner. It uses basic cuts, no fancy joinery, and the result is genuinely beautiful.
The design
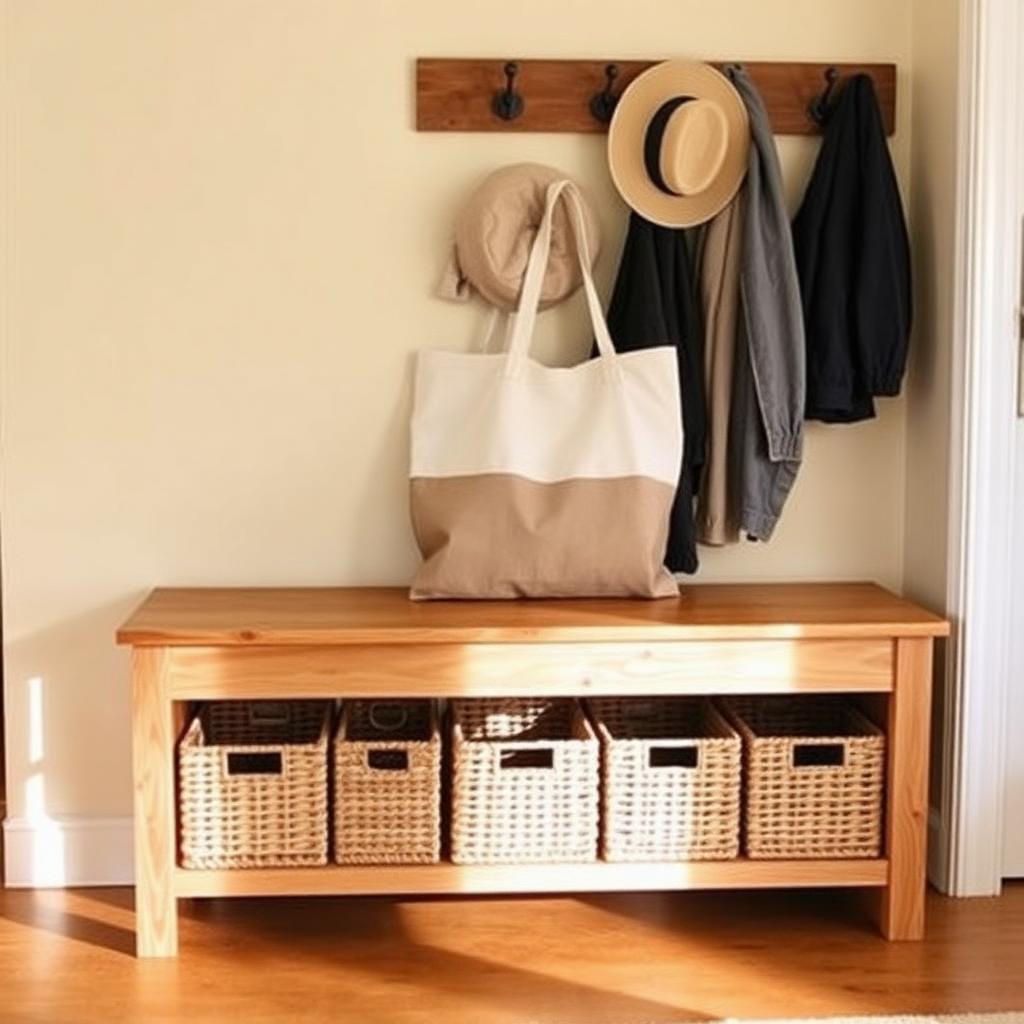
A simple slab-top bench with two solid side panels and a bottom shelf for shoe storage. 48 inches long, 16 inches deep, 18 inches tall. Sized for two adults to sit comfortably.
All pieces cut from a single 1x12 pine board (the hardware store will do the cuts for free if you bring measurements).
Cut list
From a 1x12 pine board, you need: one 48-inch top piece, two 18-inch end pieces (cut on the diagonal for slight foot design), one 44-inch back support piece, and one 44-inch shelf piece.
Have the hardware store cut these. You'll get them home ready to assemble.
Tools you'll need
A drill with both a regular bit and a countersink bit. A box of 2.5-inch wood screws. Wood glue. 220-grit sandpaper. A clamp or two (helpful but not required).
If you don't own a drill, this is the project that justifies buying one — even a basic $40 cordless will serve you for years.
Step 1: Sand everything
Sand all sides of all pieces with 220-grit. Pay extra attention to the cut edges (they're rougher than the factory faces). Wipe dust off with a damp cloth.
Sanding before assembly is much easier than sanding around joints later.
Step 2: Assemble the frame
Stand the two end pieces upright, parallel to each other, 44 inches apart. Lay the top piece across them. Apply wood glue along the contact edges, then screw the top piece down through pilot holes (countersink the screws).
Glue + screws is overkill but creates a bench that will outlast you.
Step 3: Add the back support
Screw the 44-inch back support piece between the two end pieces, about 4 inches below the top. This adds rigidity and prevents the bench from racking.
It also gives you something to attach a fabric or wood backrest to later if you want.
Step 4: Install the shelf
Mount the bottom shelf piece between the end pieces, about 4 inches off the floor. This becomes shoe and bag storage.
Screw through the outside of the end panels into the shelf edge, countersinking the screws.
Step 5: Finish
Stain or paint to taste. A warm walnut stain reads classic; matte black paint reads modern; cream paint reads cottage. Two coats with light sanding between, then a clear polyurethane topcoat for durability.
Add a cushion on top using a slab of foam wrapped in fabric for next-level coziness.
This bench will last decades and become one of the most-used pieces of furniture in your home. The pride of having built it yourself is the bonus. Pick a Saturday, grab the materials, and just start cutting (or have the store do it). You can absolutely do this.
"Hardware-store cutting saves the hardest, most intimidating step."
— Emma, CozNest
These ideas are a starting point — the real magic is making them your own. Pick one, try it this weekend, and tag @coznest so we can see what you create.

Written by
Emma Hartley
Emma is the editor of CozNest. She lives in a 720-square-foot apartment that she's decorated, redecorated, and re-redecorated more times than she'll admit — and writes about every lesson learned along the way.
More about EmmaDisclosure: Some links in this post may be affiliate links. CozNest may earn a commission if you make a purchase, at no extra cost to you. We only recommend products we genuinely love.
Keep reading
You might also like
Living Room
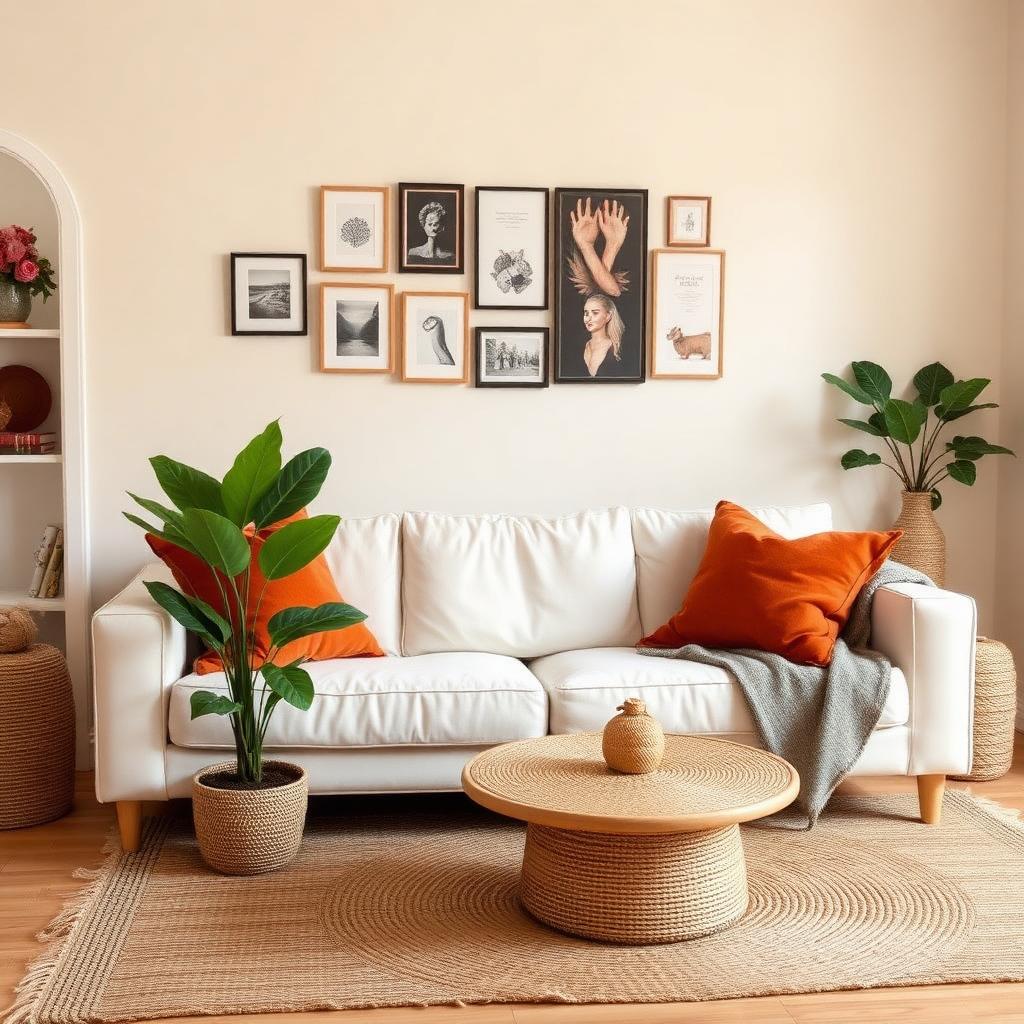
10 Living Room Decor Ideas Under $100
8 min read
Living Room
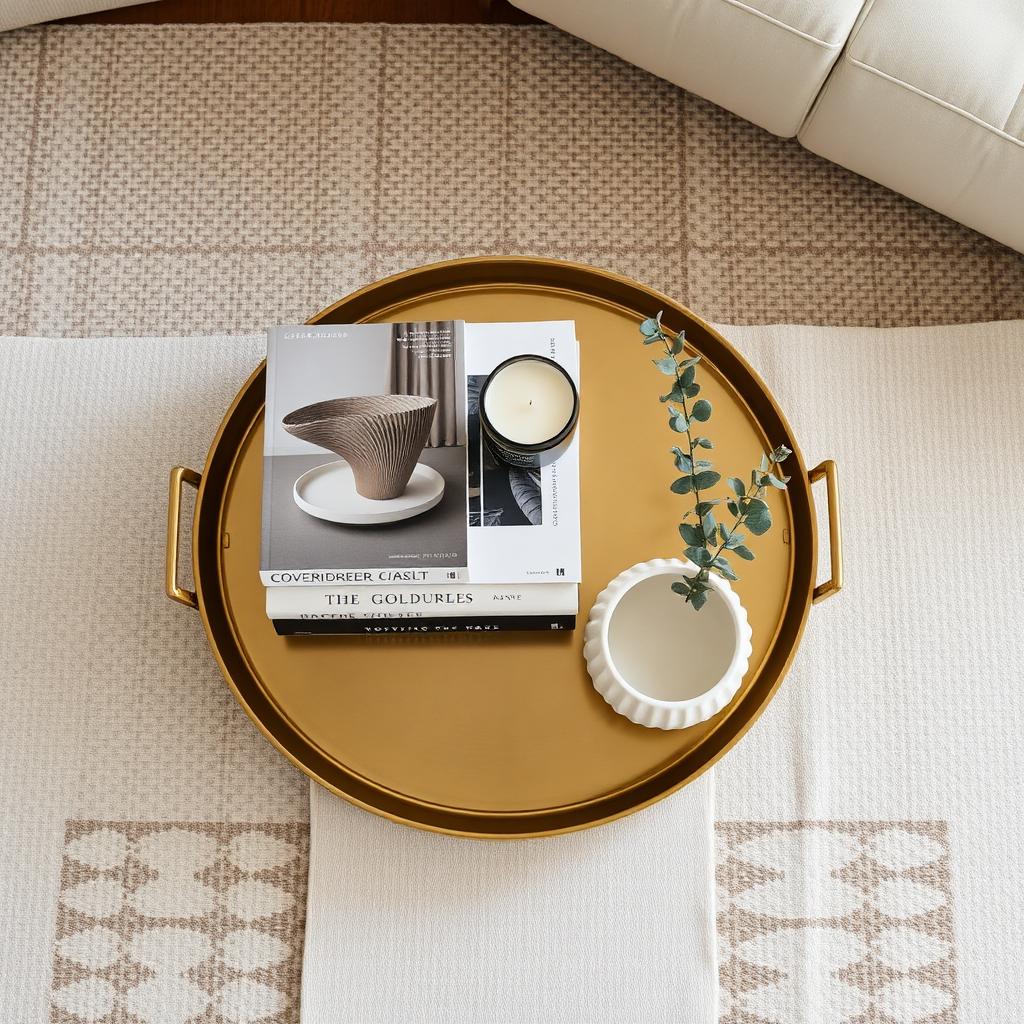
How to Style a Coffee Table Like a Designer
7 min read
Living Room
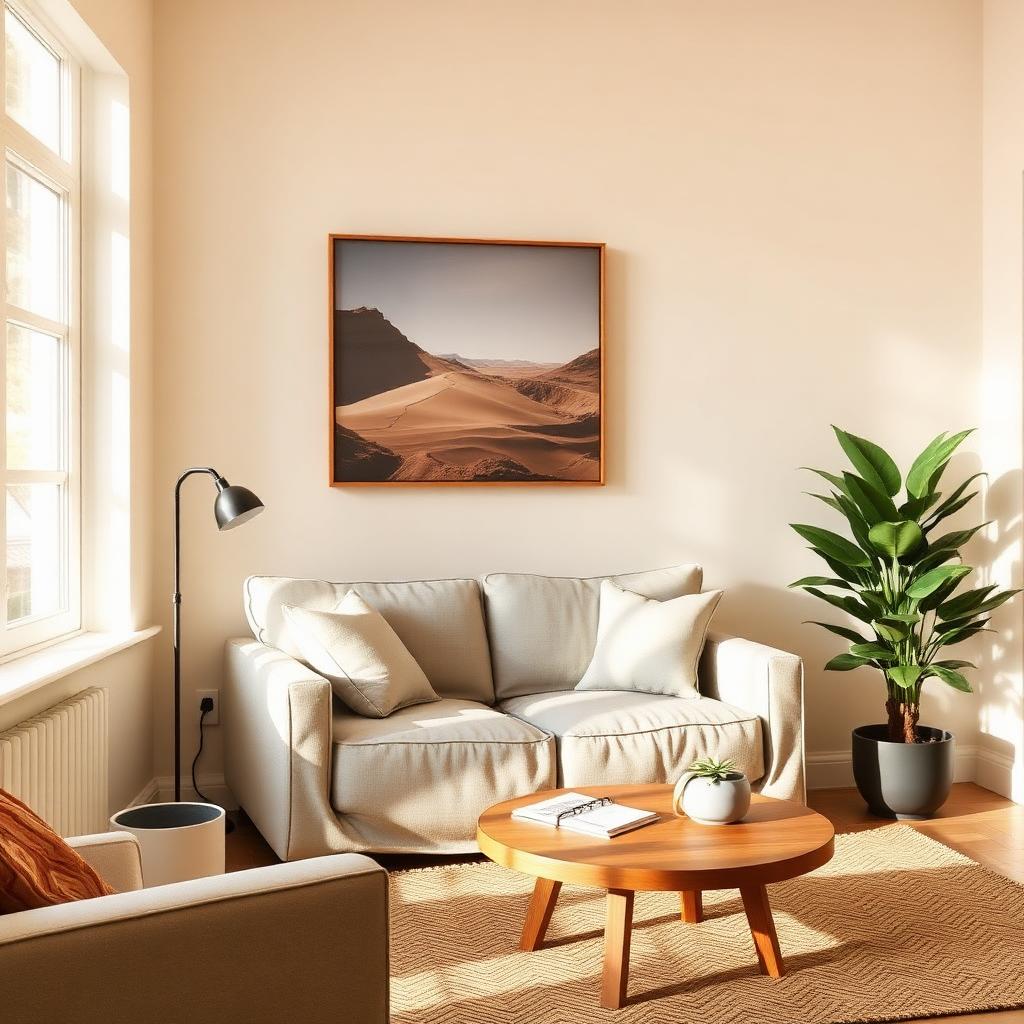
Small Living Room Layout Tricks That Actually Work
7 min read