Build a Floating Shelf in 2 Hours (Beginner Guide)
The complete beginner's guide to building a real wood floating shelf — no special tools, no carpentry skills, finished in an afternoon.
Floating shelves are the perfect first DIY build. They look impressive, cost almost nothing in materials, take about two hours total, and require zero carpentry experience. This is the project I send everyone who says 'I want to start DIYing but I don't know where to begin.'
This guide walks you through the entire process from buying materials to hanging the finished shelf. Every step assumes you've never built anything before.
What you'll need
For a 36-inch shelf: one piece of 1x10 pine board cut to 36 inches (Home Depot or Lowe's will cut it for free), one floating shelf bracket (available on Amazon for about $15), wood stain or paint, sandpaper, a drill, a level, and a stud finder.
Total material cost: about $30-40 depending on wood and finish choice.
Step 1: Sand the board
Even smooth pine boards from the hardware store benefit from a quick sanding. Use 220-grit sandpaper and go with the grain. Spend about 10 minutes total — front, back, edges, and ends.
Wipe the board with a tack cloth or slightly damp rag to remove all dust before staining.
Step 2: Stain or paint
For natural-wood shelves, apply a wood stain (Minwax Special Walnut or Provincial both give beautiful warm tones). Brush on with the grain, wait 5 minutes, wipe excess with a clean rag.
For painted shelves, prime first with one coat of bonding primer, then apply two thin coats of paint with light sanding between coats.
Step 3: Seal it
Once stain or paint is fully dry (usually 24 hours), apply two coats of clear polyurethane to protect the finish. Choose water-based for painted shelves (won't yellow) or oil-based for stained shelves (richer color).
Sand lightly with 320-grit between coats for a buttery smooth finish.
Step 4: Find your studs
This is the make-or-break step. Floating shelves MUST be anchored into wall studs — drywall anchors will not hold. Use a stud finder to locate studs in the wall where you want the shelf.
Mark each stud lightly with pencil. Standard studs are 16 inches apart in most homes.
Step 5: Install the bracket
Hold the bracket against the wall at your desired shelf height. Use a level to make sure it's perfectly horizontal. Mark the screw holes.
Drill pilot holes into the studs at your marks, then screw the bracket firmly into place. The bracket should not move at all when you push on it.
Step 6: Mount the shelf
Drill holes into the back edge of your finished wood shelf to match the bracket's prongs. Slide the shelf onto the bracket. Done.
If the shelf sits crooked, the bracket isn't level — re-check and adjust.
Styling your new shelf
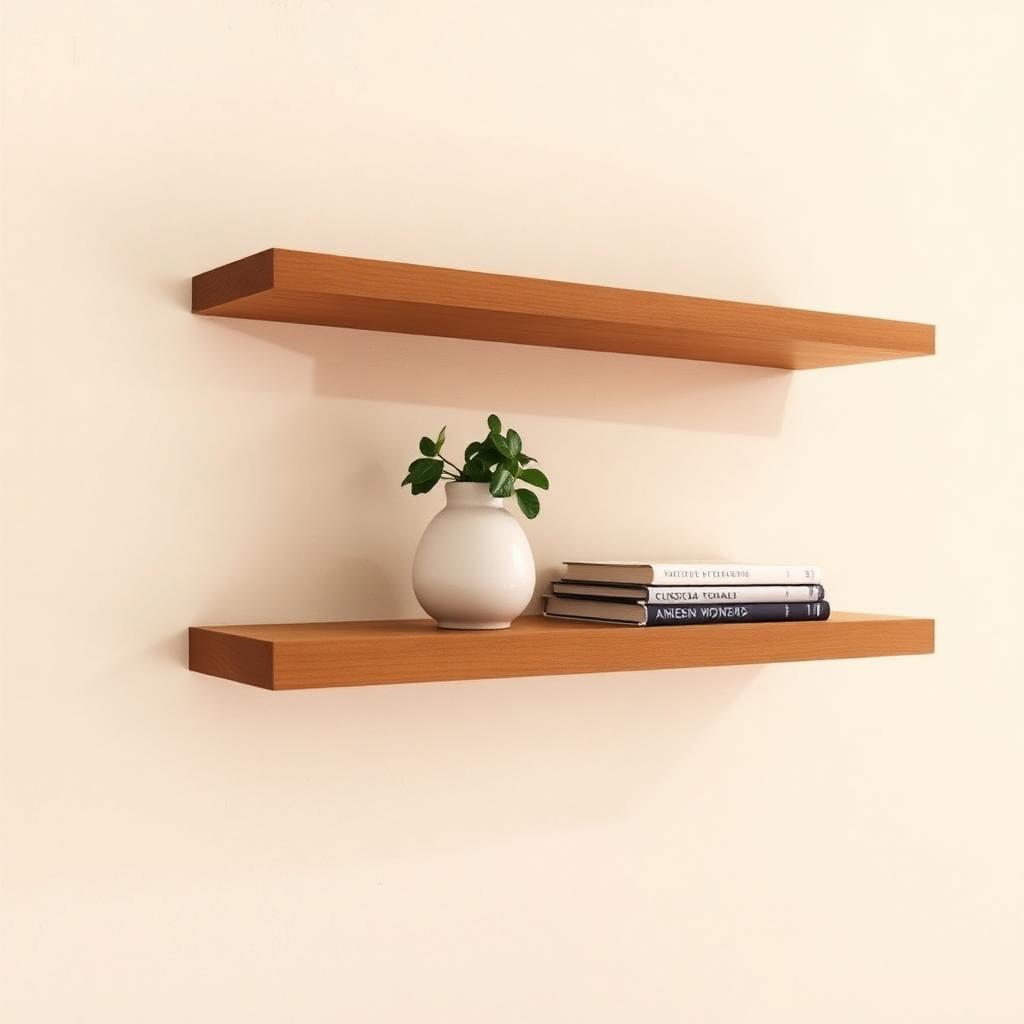
Resist the urge to overload it. Use the 60-30-10 rule from the open shelving article: 60% functional, 30% beautiful, 10% decorative. A small plant, a stack of books, a framed photo, and a candle is a foolproof starting combination.
Step back and photograph. Edit until it looks intentional.
Once you've built one floating shelf, you'll want to build five. The skills transfer to every wood project you'll ever attempt. Pick a wall this weekend. Make a shelf. Welcome to DIY.
"Pre-cut wood from the hardware store skips the hardest step."
— Emma, CozNest
These ideas are a starting point — the real magic is making them your own. Pick one, try it this weekend, and tag @coznest so we can see what you create.

Written by
Emma Hartley
Emma is the editor of CozNest. She lives in a 720-square-foot apartment that she's decorated, redecorated, and re-redecorated more times than she'll admit — and writes about every lesson learned along the way.
More about EmmaDisclosure: Some links in this post may be affiliate links. CozNest may earn a commission if you make a purchase, at no extra cost to you. We only recommend products we genuinely love.
Keep reading
You might also like
Living Room
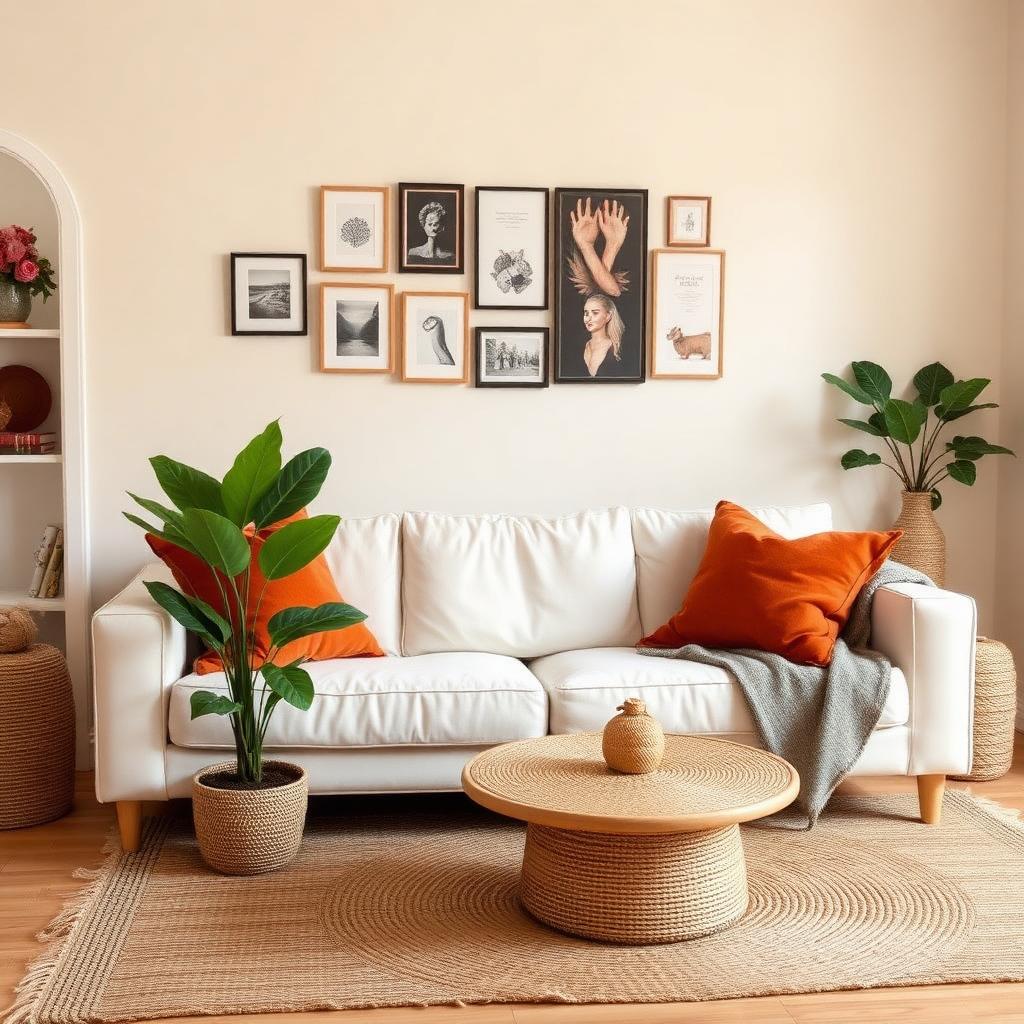
10 Living Room Decor Ideas Under $100
8 min read
Living Room
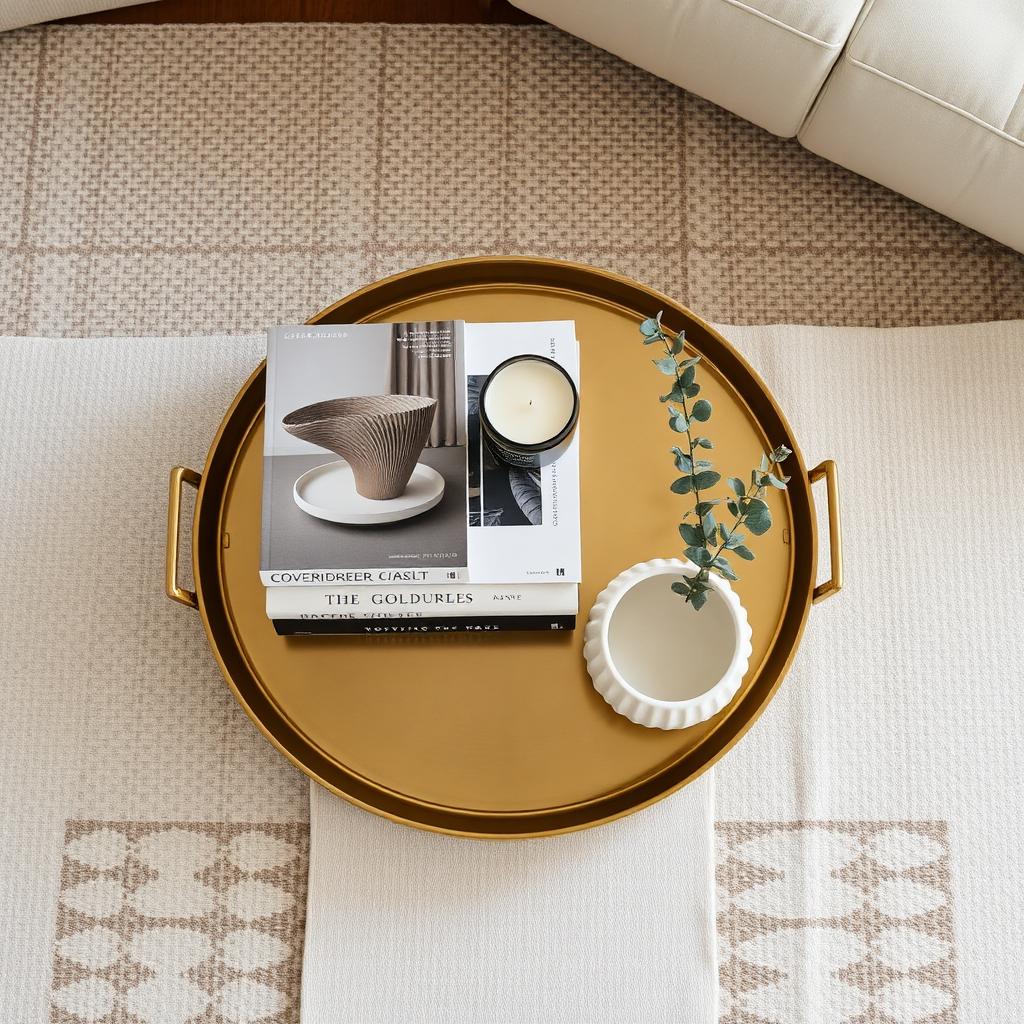
How to Style a Coffee Table Like a Designer
7 min read
Living Room
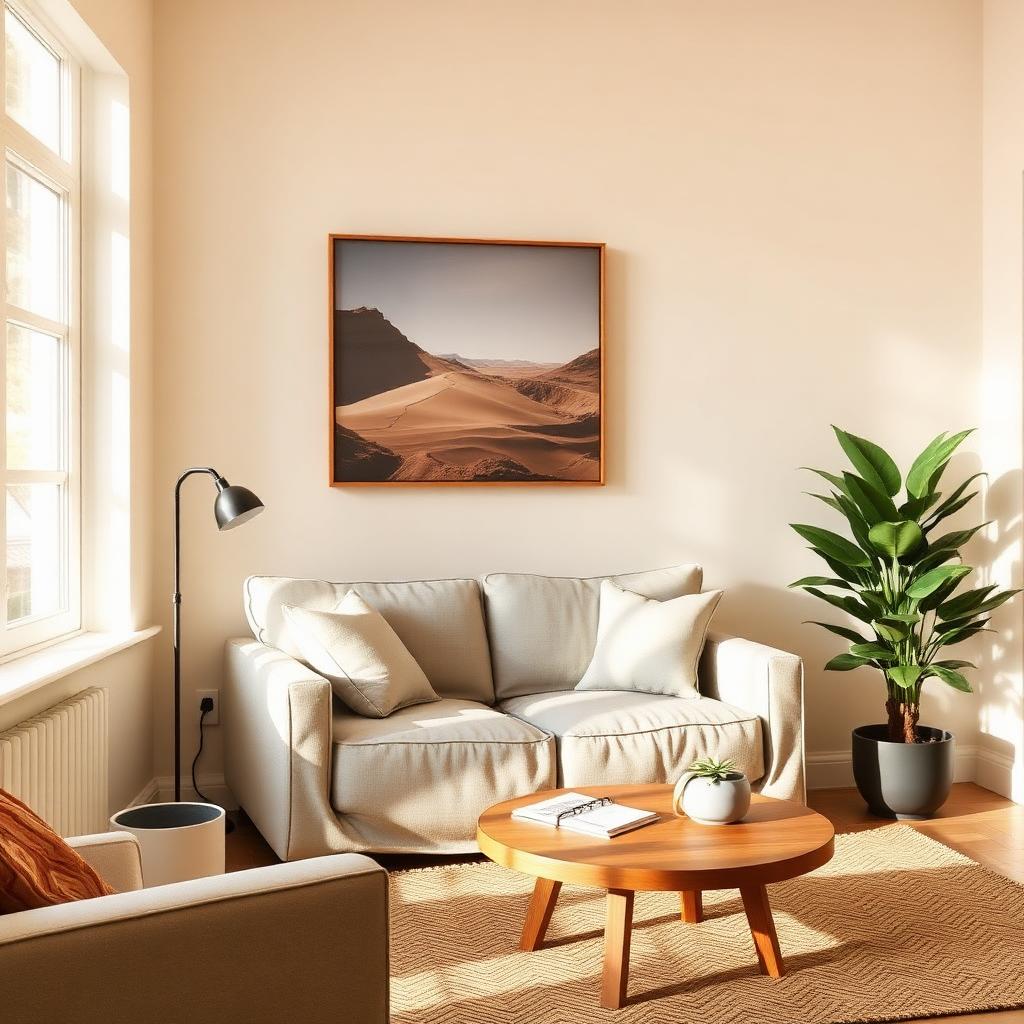
Small Living Room Layout Tricks That Actually Work
7 min read